
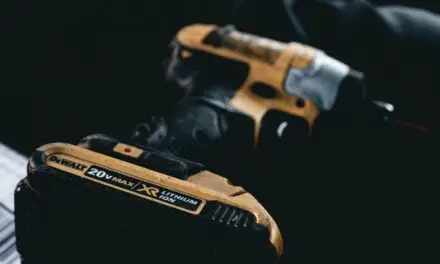
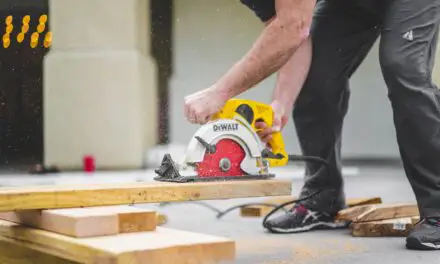
Dewalt drills are a great investment for anyone who enjoys completing construction projects, as the brand is both reliable and affordable. But, is it possible to change the chuck on your Dewalt drill?
You can remove and change the chuck on your Dewalt drill as long as you follow the correct steps and have the right tools at your disposal, such as a soft hammer. If you experience issues doing this yourself, you can send your drill to your nearest factory service center.
Below, we’ll discuss more information on removing and changing the chuck on your Dewalt drill. Keep reading to learn the correct process!
Can You Change the Chuck on Dewalt Drill?
You can change the chuck on your Dewalt drill, regardless of whether it is keyed or keyless. To do so, you first need to determine what kind of chuck you have, then follow the correct steps to remove and replace it.
To determine whether you have a keyed or keyless chuck on your Dewalt drill, you just need to perform a bit of observation.
Keyless chucks usually have a smooth look and no holes visible on their body.
Keyed chucks, on the other hand, are a bit more complicated-looking. They have a sleeve, gear teeth, a body, jaws, and a hole in the body.
How to Change a Keyless Chuck on Your Dewalt Drill
To change out a keyless chuck on your Dewalt drill, you will need to perform a few simple steps to ensure it is done effectively and safely.
To replace a keyless chuck, follow the steps below:
- Remove the battery from your Dewalt drill.
- Remove the chuck-retaining screw using a Torx driver in a clockwise direction to open the chuck to its widest position.
- Slide the gear selector switch to the lowest setting.
- Insert the short end of a large Allen wrench into the chuck and secure it.
- Position the drill on a surface where the wrench can overhang the edge.
- While firmly holding the drill, strongly strike the wrench with a soft hammer or mallet. Repeat this step a few times until the chuck is loose.
- Rotate the chuck by hand until it disengages from the spindle.
- Remove the chuck, then thread the new one onto the spindle until it is tight.
- Open the chuck as wide as it will go and secure your Allen wrench inside to tighten it firmly.
- Remove your Allen wrench and insert the retaining screw and secure it with a Torx driver with a counterclockwise rotation.
If the above steps fail for any reason, you can always reach out to your nearest Dewalt factory service center for assistance.
How to Change a Keyed Chuck on Your Dewalt Drill
If you have a keyed chuck rather than a keyless chuck on your Dewalt drill, don’t fret.
It is just as easy to change a keyed chuck as it is to change a keyless one.
To do so, follow these steps:
- If your chuck has a screw, face the chuck towards yourself and place the key into the hole on the right side of the chuck.
- Use a wooden mallet to strike the key and loosen the screw. Work in a clockwise direction.
- Fully open the chuck jaws and insert a screwdriver into the bottom.
- Remove the screw by turning your screwdriver in a clockwise direction.
- With the chuck facing you, place the key into the hole on the left side and strike it with the same tool you used earlier in a counterclockwise direction.
- Unscrew the chuck by hand.
- Screw the new chuck onto the spindle.
- Insert and secure the screw inside the chuck using a screwdriver with a counterclockwise rotation).
- Insert the chuck key and tighten it as much as it will go.
If you have any trouble changing your chuck through the above steps, reach out to a local Dewalt factory service center for more assistance.
In Conclusion
Whether you’ve damaged the old one or just want to upgrade, it is possible to change the chuck on your Dewalt drill. This is true whether it is keyed or keyless.
To determine whether you have a keyed or keyless chuck, simply look for a keyhole. If you can see a hole, your drill has a keyed chuck.

