You’ve been waiting for the perfect time to start working on that do-it-yourself project and the time is now here. You’re ready to put your inner carpenter to the test and soon as you get started, your drill stops, and you are stuck looking into the sky, asking, “Why does my Dewalt drill keep stopping?”
Generally, there are two reasons your DeWalt drill keeps stopping:
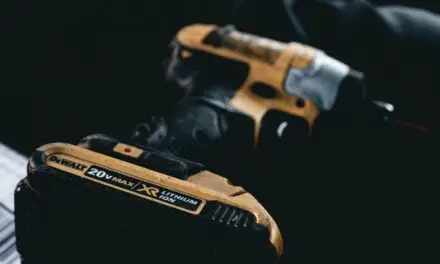
- The drill has a bad battery
- You have a faulty charger
While faulty chargers and bad batteries are the worst-case scenarios, more often than not, they are not the cause and there are easier to fix reasons why your drill keeps stopping.
If your drill does have a bad battery or a faulty charger, there is no need to worry. As a DeWalt user, your warranty covers everything. Keep reading to discover what to do and some other potential causes that can be easily handled by yourself at home.
Why Does My Electric Drill Keep Stopping?
DeWalt drills not only stop for bad batteries and bad charging, but they usually stop for other easily solved issues:
- You’re not using your drill the right way: This is probably the number one cause of your drill stopping.
- Your drill is overloaded: Drill overloading is right there with using your drill the wrong way as the main reason for stalling.
- The cause is that, oftentimes, your power switch is not working properly because of dirty contacts. Simply cleaning your drill should take care of this problem.
Thankfully for all you do-it-yourself guys and gals, DeWalt drills stop for a multitude of reasons that can usually be solved at home with no money spent or professional help.
My Drill is a Corded Drill: Why Does it Keep Stopping?
If your drill is a corded drill, it may just be because the cord is worn out.
If this is the case, replacing the cord should solve this problem with no further hassle. Don’t panic if you’re on a tight budget, cords are relatively inexpensive.
How Do I Fix a Dewalt Drill That Won’t Spin
Sometimes if your drill is overloaded, it will cause a sudden twist. This twist in your drill will oftentimes cause stalling. If stalling occurs, the last thing you want to do is keep squeezing and releasing the trigger, this may cause damage to the drill and is unsafe. In the case of stalling:
- The first thing you need to do is immediately release the trigger!
- Once the trigger is released, you can remove the drill bit from work.
- Now you can determine the cause of your drill stalling.
Hopefully, these steps can help your problem.
How to Minimize Stopping My Drill
You want to start by making sure you’re using the right drill bit for the project you’re working on. If you use the wrong drill bit, it will almost always cause a stoppage. Be careful to not put too much pressure on the drill. Your drill is meant to do the hard work so you don’t have to.
Take it easy when you get to the last fractional part of the hole and keep the motor running while pulling the bit out.
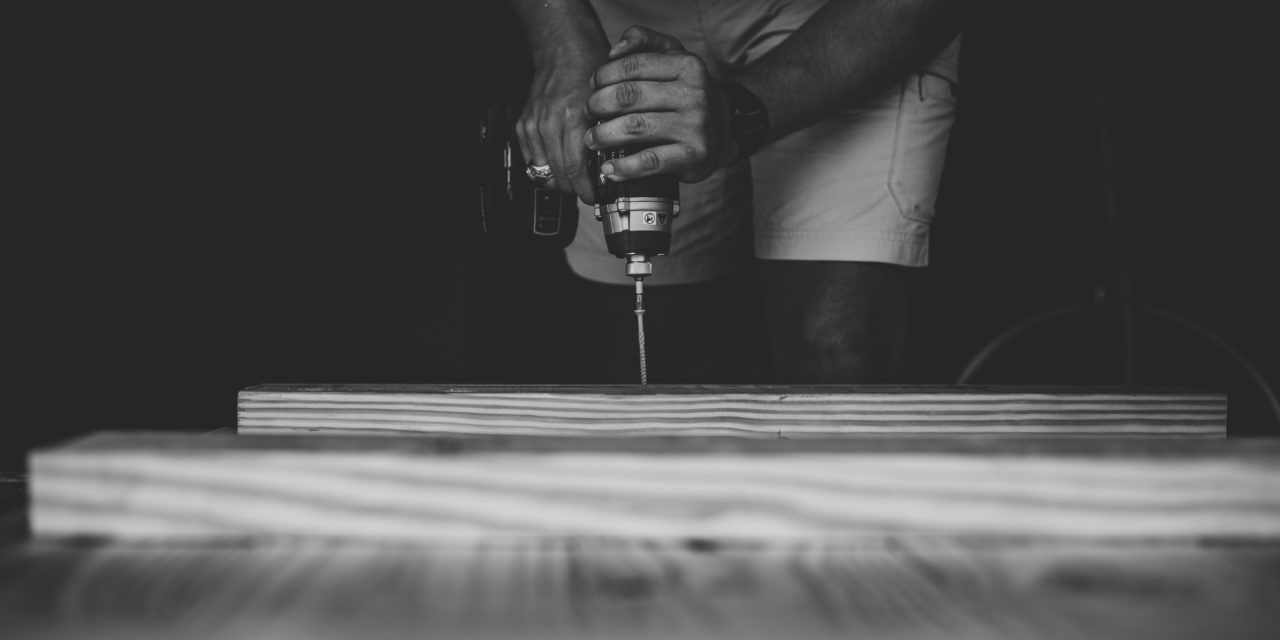
How to Properly Use Your Dewalt Drill
To avoid having your drill stop on you, it’s important that you’re using your drill the right way:
Using Your Dewalt for Drilling a Hole
Luckily, this process is easy!
- Start by making sure your drill is properly charged or plugged in.
- Next, make sure your torque is adjusted for the material you’re drilling. Generally, the harder the surface, the more torque that is needed.
- Make sure your drill is stabilized. You need your hole to be straight.
- Gently pull the trigger and start drilling at a low speed.
- Once you’re finished drilling, put the drill in reverse and slowly back out. Be careful to make sure you don’t yank or pull the drill out at an angle.
Using your drill the right way is the easiest step to take to prevent stalling. It also makes using your drill easier to use.
Using Your Dewalt for Drilling a Pilot Hole
Using the same start up steps and principles for drilling a hole, use these additional steps for a pilot hole:
- Adjust your drill to low torque, pilot holes don’t require a lot of force.
- Pull the trigger and press gently on the screw.
- Always keep your drill vertical and not at an angle.
- Stop drilling once the screw is inserted.
- Stop before the screw is completely inserted and finish with a screwdriver if you’re concerned about over-screwing.
Using your drill for pilot holes is just like using your drill for a regular hole. In both cases, using your drill the right way will prevent stopping and make your life easier.
In Conclusion
One of the most incredible things about Dewalt is its limited lifetime warranty. As long as the anchor wear mark is visible on your drill, Dewalt will replace your drill bit free of charge. If your drill keeps stopping even with proper use, it may just be time to get a new one.
