If you are replacing your baseboard corner, you may want to know are saw mitered corners or coped baseboard corners are better on either baseboards or when doing crown molding.
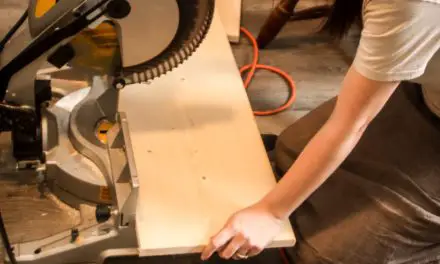
When replacing your molding or baseboards, it is best to use a miter saw to fit the outside corners and a coping saw to cope the inside corners for the best fit.
If you want a really tight coped joint, you can also sand or file the coped edge to fine-tune the fit against the not cut board. The final length will determine your coped joint length
Why Use a Coped Joint on Inside Corners?
If you want the inside corners of your baseboards and crown molding to have a tight corner, you will want to use a coped joint instead of a mitered one for the best fit.
A mitered joint will work great if your wall is a perfect 90 degrees. However, the walls are usually not exactly 90 degrees in rough home construction.
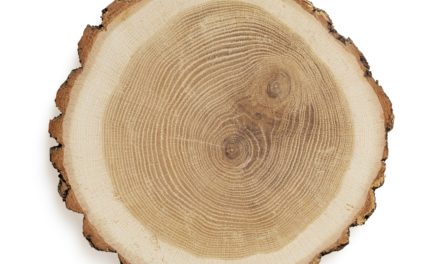
The coped joint allows for movement of the materials with the season and accounts for not being completely square at 90 degrees.
How to Cope Inside Corners
A coping saw is a small saw with a deep throat that can make turns and tight cuts really well. Here are three of the most popular models of coping saw:
All coping your inside corner amounts to is using a coping saw to shape one edge of your molding to match the contour or shape of the side of your other board it is butting against.
- Cut one board square
- Butt that square into the inside corner of the wall
- Cut the face shape of the square board into the edge of the coped edge board
- Cope the other board so that only the outer edge of the board touches the square board against the wall.
- Caulk joint for a seamless look
For ease of instruction, we will refer to one board as the square board. This will be the board that isn’t coped. The other board will be the coped board. This will have the coped edge.
Cut One Side Square and Install the Square Board into Inside Corner
The first board you want to cut square and just butt it into the corner. This board can be tacked in place as no more alterations will be made to this board.
All of the skill and effort in a coped joint goes into the coped edge of the next board.
Coping the Coped Board
It is important to remember that a coping saw cuts when you push it, not when you pull it. So, go slow and be deliberate with your motions.
First, determine the end of the coped board that will be going against the square board. Then, note that end on the back of the board, so you don’t cope the wrong end.
Using your coping saw, you want to cut a 45-degree angle undercut following the face-edge of the cope board. The edge of the board should be like a 45-degree knife edge.
Follow the contours of the face edge of the board as you are cutting. Test fit the coped board to the face of the square board. Be sure to sand and file the coped edge to fine-tune the fit.
Apply Caulk for a Finished Look
Using caulk on your mitered or coped joint creates a finished look and protects against liquids. It also helps hide any wonky cuts or gaps due to seasonal expansion.
What are the Benefits of a Coped Joint or Mitered Corner?
A mitered joint will be tight on outside corners, but if you are doing inside corners, you want to leave some room for the wall and materials to expand.
The coped joint allows for this expansion with the raw edges or uncut edge going against the wall and the coped joint butting up against that. It allows the piece of molding to fit better.
Conclusion
If you are cutting an inside corner, it is best to use a coped joint over a mitered joint. A coped joint is more forgiving of wall irregularities and seasonal material changes.

